Inserting an Image
Step 1:
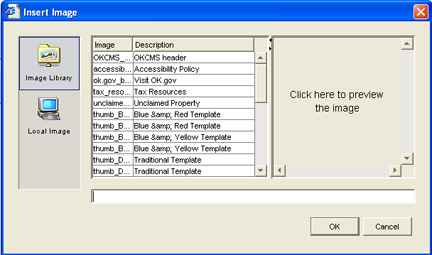
Select the "Insert Image" button.  It will open the window shown below.
Step 2:
You may now choose the image you want from a list of images you have entered into your "Image Manager". To preview the image, select an image from the list and then click "Click here to preview the image" on the right. When you have found the desired image, press "OK".
Step 3: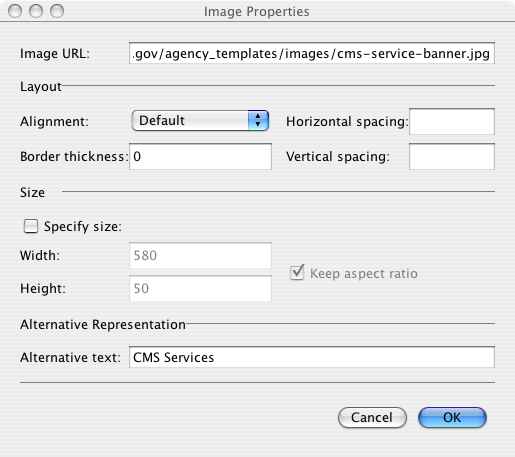
To change the image properties (size, border, etc.); click on the image one time, then right click on the image and choose "Image Properties". In the "Image Properties" window you can change the following settings:
Alignment: Image alignment is useful when wrapping text around images.
Border: Border thickness in pixels (EX: 1= thin border)
Horizontal spacing: Horizontal space is useful when wrapping text around images.
Vertical spacing: Vertical space is useful when wrapping text around images.
Size: Image width / height in pixels
Alternative Text: Alternative text is text that will describe the image for accessibility purposes.


 Email
Email
 Print
Print